Hot sun, spring hail, and Hill Country limestone give Bee Cave homes a distinct look and set of maintenance needs. If you have a metal roof and stone exterior, a simple plan can help you prevent leaks, protect finishes, and keep curb appeal high. In this guide, you’ll get clear steps for inspections, cleaning, flashing, permits, and insurance considerations tailored to Bee Cave. Let’s dive in.
Why this matters in Bee Cave
Bee Cave summers are hot and sunny, and storms can bring heavy rain and hail. That combination increases wear on finishes and sealants, and it can dent metal panels. FEMA’s hazard data shows Travis County experiences recurring hail, so inspection after storms is smart and often necessary for insurance documentation. Review your roof coverage, since some Texas policies treat non-leaking hail dents as cosmetic. You can also ask your insurer about impact-rated roof discounts through the Texas Department of Insurance.
- Review permitting for exterior work with the City of Bee Cave’s Planning & Development before you replace a roof or alter cladding. Check permit requirements.
- Understand hail risk and plan for post-storm checks. See FEMA’s Travis County profile.
- Ask your carrier about impact-rated roofing credits. TDI outlines potential discounts.
Metal roofs: what to know
Lifespan and cost ranges
With proper installation and care, metal roofs often last 40 to 70 years or more. That long service life depends on metal type, finish, installation quality, and exposure. In Texas, installed replacement costs vary widely by product, typically ranging from roughly the mid single digits to the high teens per square foot. Always get multiple local quotes to budget accurately.
- Typical lifespans by material are outlined here: How long roofs last.
- Texas replacement cost ranges: Roof replacement cost guide.
Inspection schedule
Plan two full inspections per year, ideally in spring and fall, plus a quick check after any hail or high-wind event. Semiannual inspections are a common industry recommendation and help you catch sealant failure, loose trim, or coating damage early. If your home is near trees, add quick gutter checks during the heaviest leaf drop.
- Industry guidance supports semiannual inspections: NRCA overview.
What to look for
- Fasteners and seams, look for loose or missing fasteners, clip movement on standing seam, or gaps at laps.
- Flashings and penetrations, check for cracked or dried sealant and loose counterflashings.
- Finish condition, note dents, scratches that expose bare metal, rust spots, or coating peel.
- Drainage, confirm gutters and downspouts are clear and that water moves off the roof quickly.
Document issues with photos, especially after storms.
Cleaning and minor maintenance
Clean with a mild detergent solution and a soft brush or sponge, then rinse thoroughly. Avoid power washing, wire brushes, or harsh solvents that can damage the finish or void warranties. For small scratches, manufacturer touch-up paint reduces corrosion risk, and aged sealant should be replaced with compatible products.
- Practical roof cleaning steps: Metal Roofing Alliance guide.
When to call a pro
Bring in a qualified metal-roof installer for active leaks, damaged flashings, seam repairs, or extensive hail denting. Flashing work often looks simple but requires specific fabrication to remain watertight over time.
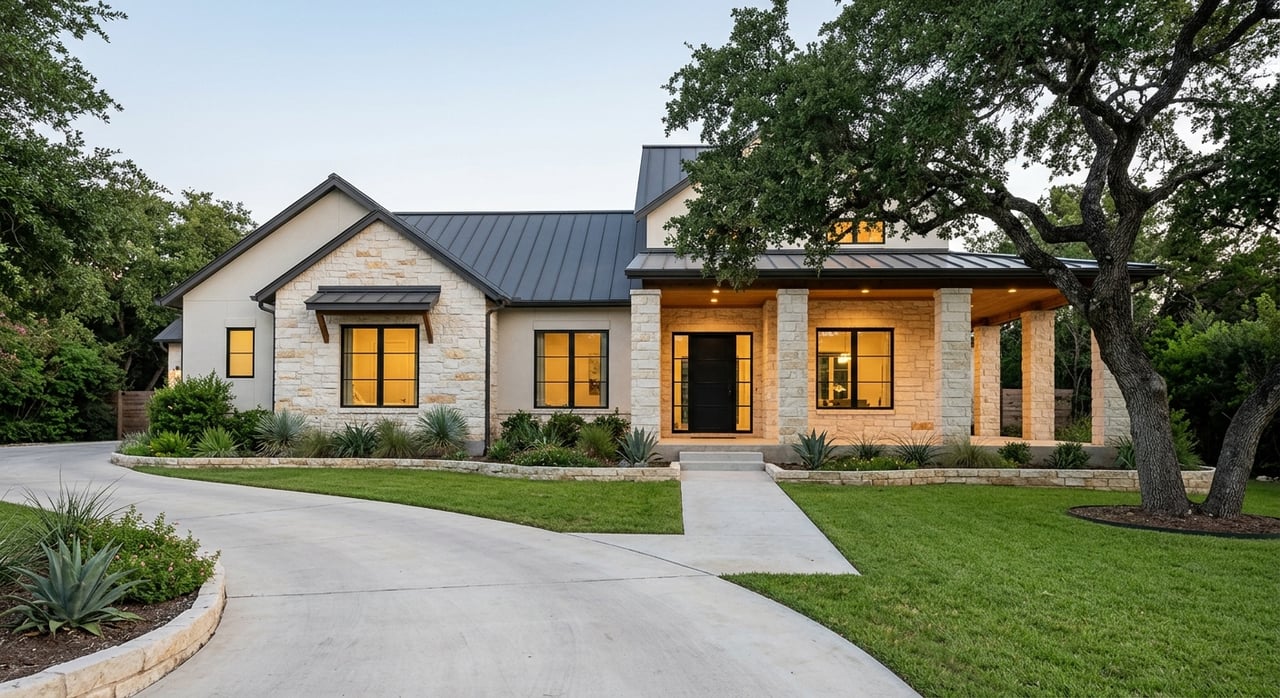
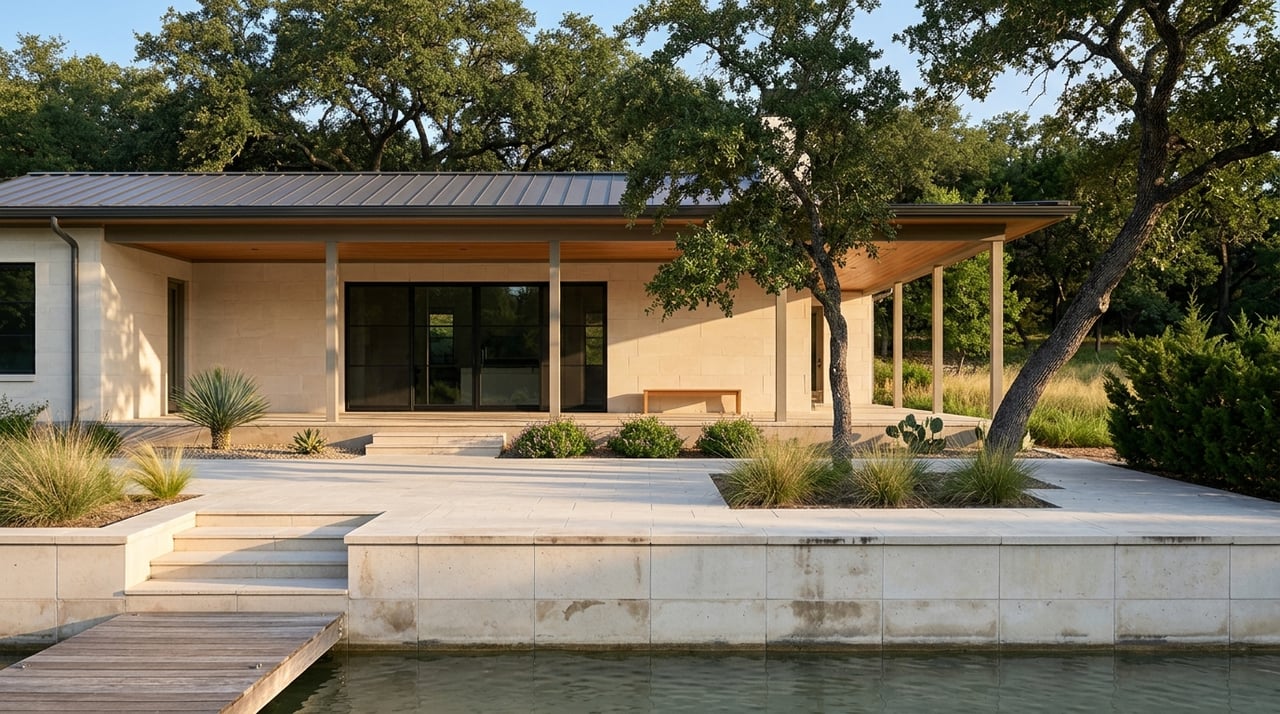
Stone exteriors: limestone and veneers
Common materials
Many Bee Cave homes feature Texas limestone in full-bed or thin veneer form, and some use manufactured stone veneer. Natural limestone is durable, and both natural and manufactured veneers depend on proper moisture management behind the cladding.
Typical issues to watch
- Moisture behind the veneer from missing weeps, blocked drainage, or poor flashing.
- Mortar deterioration that allows water entry.
- Efflorescence, white mineral deposits that indicate moisture movement through masonry.
- Algae or mildew in shaded or splash-prone areas.
Best practices from masonry industry sources emphasize drainage, weeps, and careful cleaning to prevent damage.
- Installation and maintenance tips: Manufactured stone best practices.
Cleaning, sealing, and repointing
Use water and mild detergent with a soft brush. Avoid acidic cleaners and high-pressure washing unless a masonry specialist recommends it. If you choose to seal, look for breathable penetrating sealers, often silane or siloxane based, and test first to check appearance. Repoint deteriorated mortar with a compatible mix to maintain the envelope.
Cost and longevity
Installed costs for thin natural stone veneer commonly range from roughly the mid teens to mid forties per square foot, with manufactured veneer usually lower. Properly detailed stone cladding can last for decades, assuming flashings, weeps, and mortar joints are maintained.
- Cost reference: Stone veneer siding cost guide.
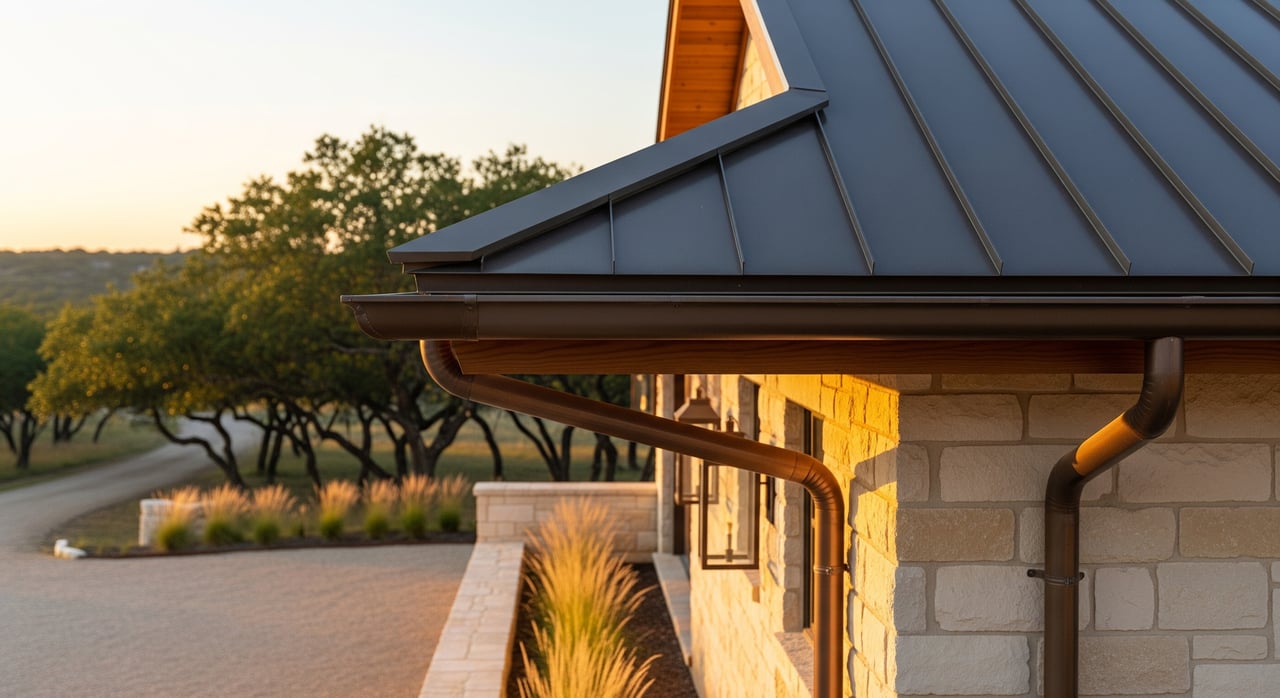
The critical joint: metal to stone
Where a metal roof meets stone, flashing is everything. Use step flashing and embed or reglet counterflashing into the masonry, then add a kick-out flashing where the roof meets a sidewall and drains to a gutter. Flashings should overlap in shingle fashion over underlayment and the wall’s water-resistive barrier. Do not rely on caulk alone.
- Step and kick-out flashing details: Building America Solution Center guide.
If stone faces are uneven, custom bending and careful integration are needed. These repairs often require coordination between a roofer and a mason.
Your Bee Cave maintenance plan
Every 3 to 6 months
- Clear leaves and pollen from gutters and downspouts, trim branches so they do not touch the roof.
- Walk the exterior, look for new stains, efflorescence, or mortar loss on stone. Maintain clearance between landscaping and the base of the veneer.
Spring and fall
- Roof, inspect fasteners, seams, flashings, penetrations, and panel finishes. Photograph dents or coating loss.
- Stone, check mortar joints, weep locations, and interfaces around windows, doors, and roof-to-wall areas. Clean gently as needed.
After hail or high wind
- Photograph roof dents, bent flashings, displaced stone, and cracked mortar. Start an insurance file immediately if you suspect damage.
Every 3 to 7 years
- Reapply breathable penetrating sealer to stone if you use one, following product guidance.
- Refresh compatible sealants at flashings and touch up roof finishes as recommended by the manufacturer.
Permits and insurance tips
- Roof replacement and many exterior changes require a city permit. Confirm scope, submittals, and inspections before work begins. Bee Cave permits and inspections.
- Ask your insurer about impact-rated roofing discounts and clarify cosmetic versus functional hail damage terms. TDI roofing guidance.
Protecting value when you buy or sell
A well-documented maintenance record, clean roof and stone, and watertight flashings help reassure buyers and appraisers. Keep receipts, before and after photos, and permit records together. If you are planning to list, schedule a pre-listing exterior check so you can address small issues before they become inspection items.
Ready to align your home’s condition and market presentation? Connect with Bryan Swan to strategize next steps for your Bee Cave property.
FAQs
How often should I inspect a metal roof in Bee Cave?
- Plan on spring and fall inspections, plus quick checks after hail or high wind to document any issues.
Do hail dents on a metal roof always require replacement?
- Not always, some policies treat non-leaking dents as cosmetic, but you should document damage and review coverage with your insurer.
Should I seal my Texas limestone exterior?
- A breathable penetrating sealer can help reduce staining and water entry, but always test first and avoid non-breathable coatings that trap moisture.
Do I need a permit to replace my roof in Bee Cave?
- Yes, roof replacement typically requires a city permit, confirm requirements with Planning & Development before work starts.
What is kick-out flashing and why is it important at roof-to-wall areas?
- It is a small flashing that directs water into the gutter at the end of a sidewall, preventing water from running behind stone or siding and causing hidden leaks.